What are AI Application Integrations?
Instead of writing code yourself, you can connect Model Router to existing AI development tools. These tools provide user-friendly interfaces for AI-assisted coding and development.Before configuring these tools, make sure you have:
- Created an API key (see Create API Key)
- Checked which models are available (see List Available Models)
Supported Applications
Claude Code
Claude Code is a code editor integration tool based on Anthropic Claude. It provides AI-powered coding assistance directly in your terminal.Codex CLI
Codex CLI is a command-line interface AI code assistant tool that helps you write and understand code.Cherry Studio
Cherry Studio is a powerful desktop AI client with multi-model conversation and drawing capabilities. It integrates 30+ industry-specific intelligent assistants.- Official Website: https://cherry-ai.com/
- Download: https://cherry-ai.com/download
- Official Documentation: https://docs.cherry-ai.com
Claude Code Integration
What You Need
- ANTHROPIC_AUTH_TOKEN: Your API key from Memorylake Console (starts with
sk-) - ANTHROPIC_BASE_URL: Model Router service address:
https://app.memorylake.ai/claude
Step 1: Install Claude Code
Install Claude Code globally via npm:Step 2: Get Your API Key
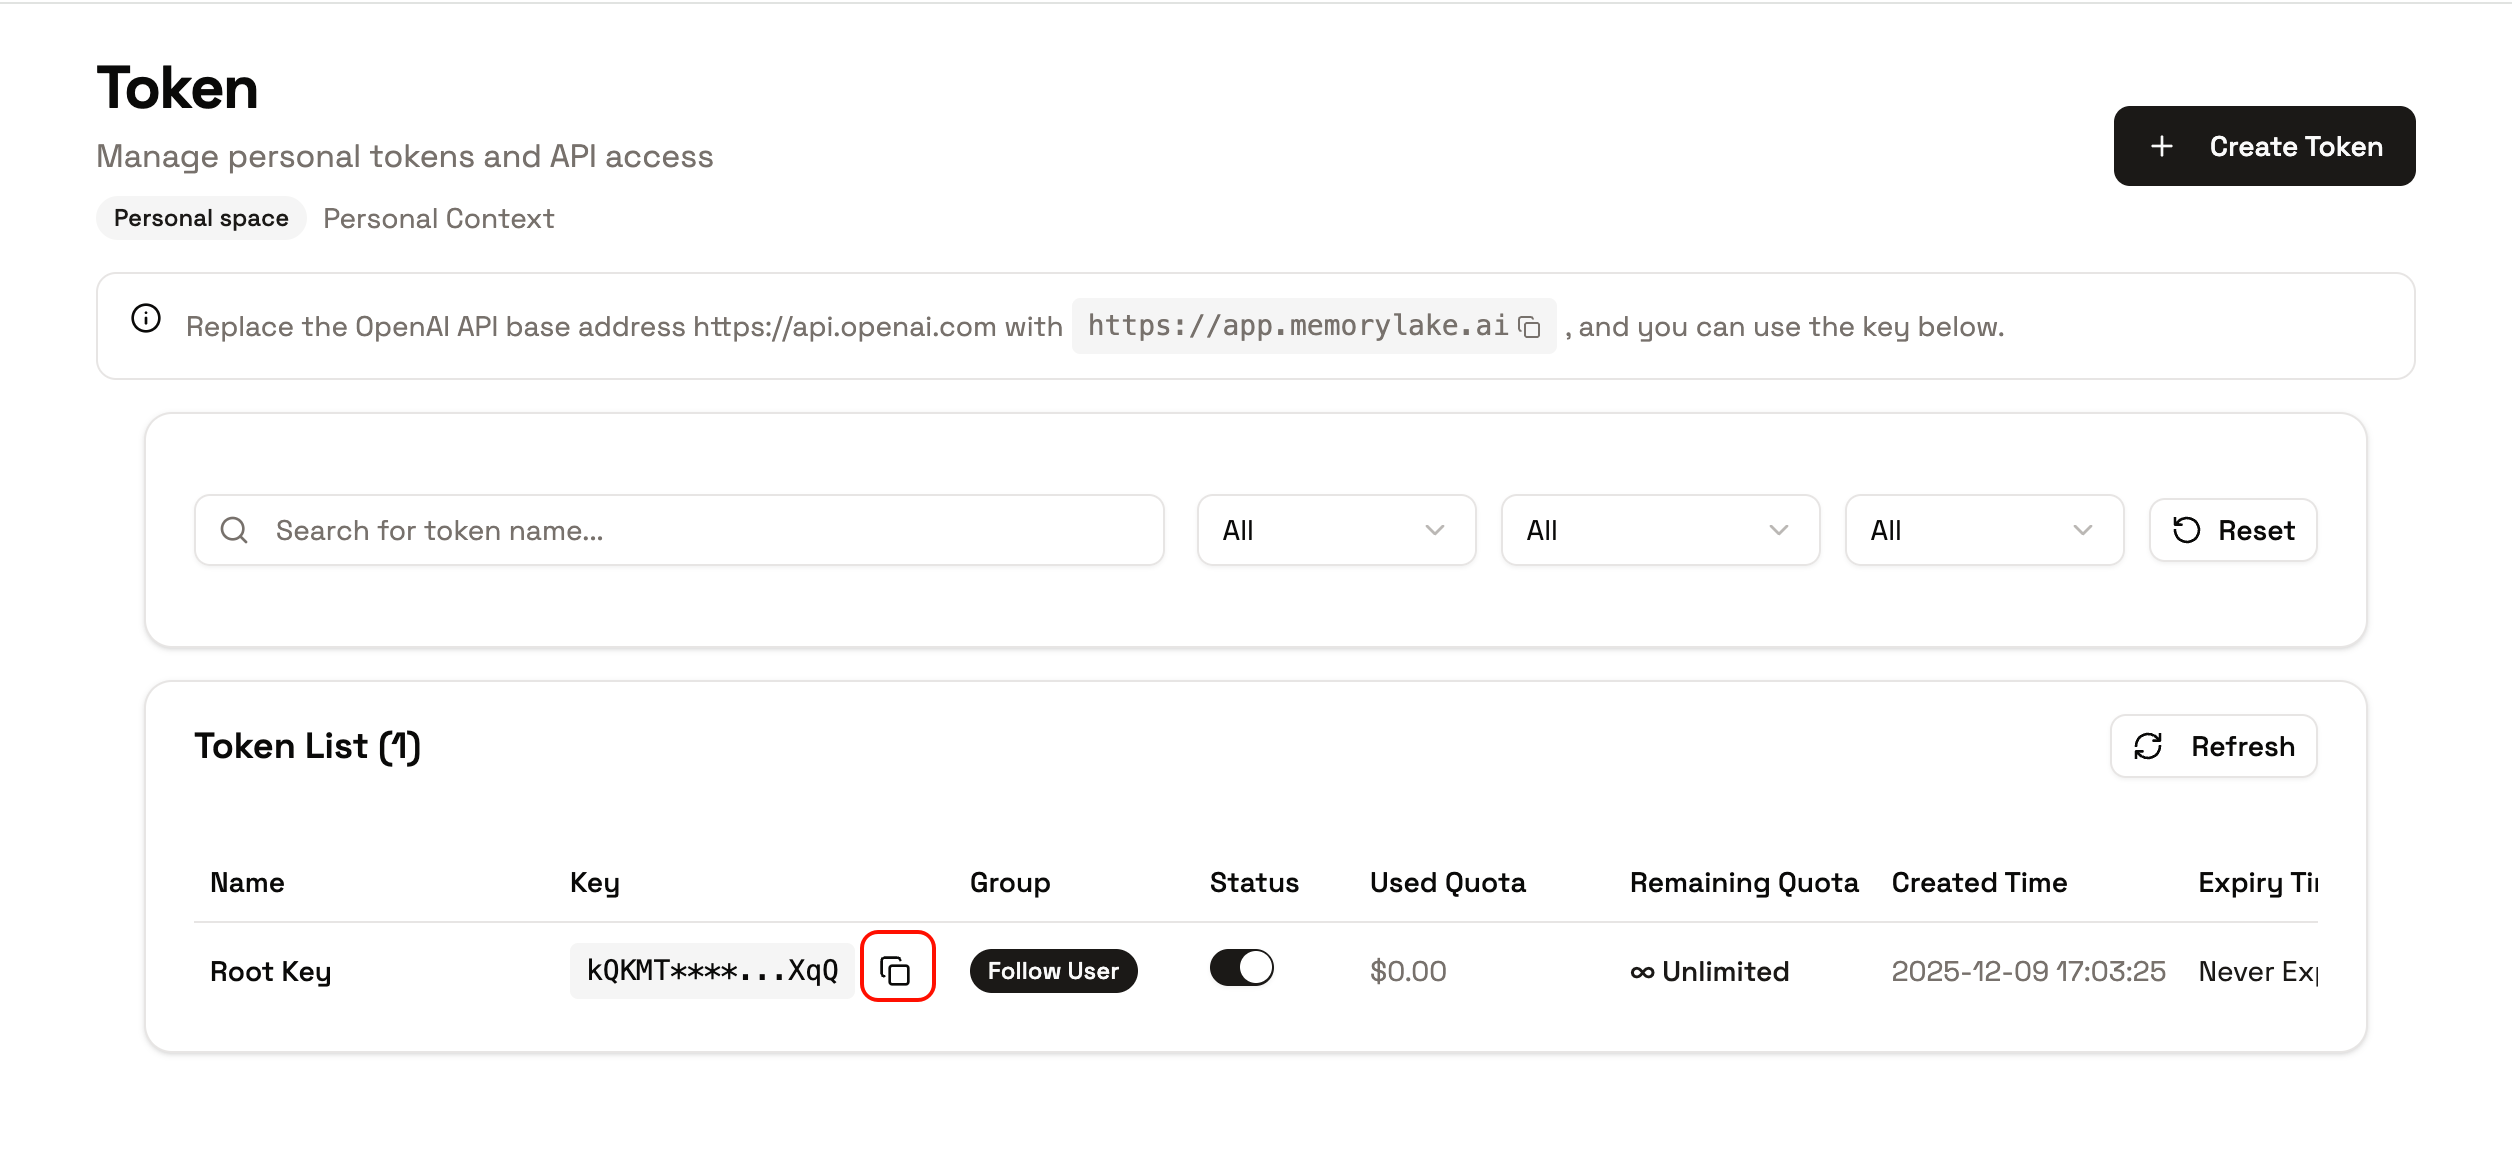
Click “Add API Key” on the API key management page in the Memorylake Console to get an API Key.The name can be set arbitrarily. It’s recommended to set the quota to unlimited. Keep other settings as default.
Step 3: Configure Environment Variables
Set environment variables in your project directory:Step 4: Initialize Configuration
After running, complete initialization as prompted:- Select your preferred theme + Enter
- Confirm safety notice + Enter
- Use default Terminal configuration + Enter
- Trust working directory + Enter
Step 5: Start Using
After configuration, you can code with your AI programming partner in the terminal.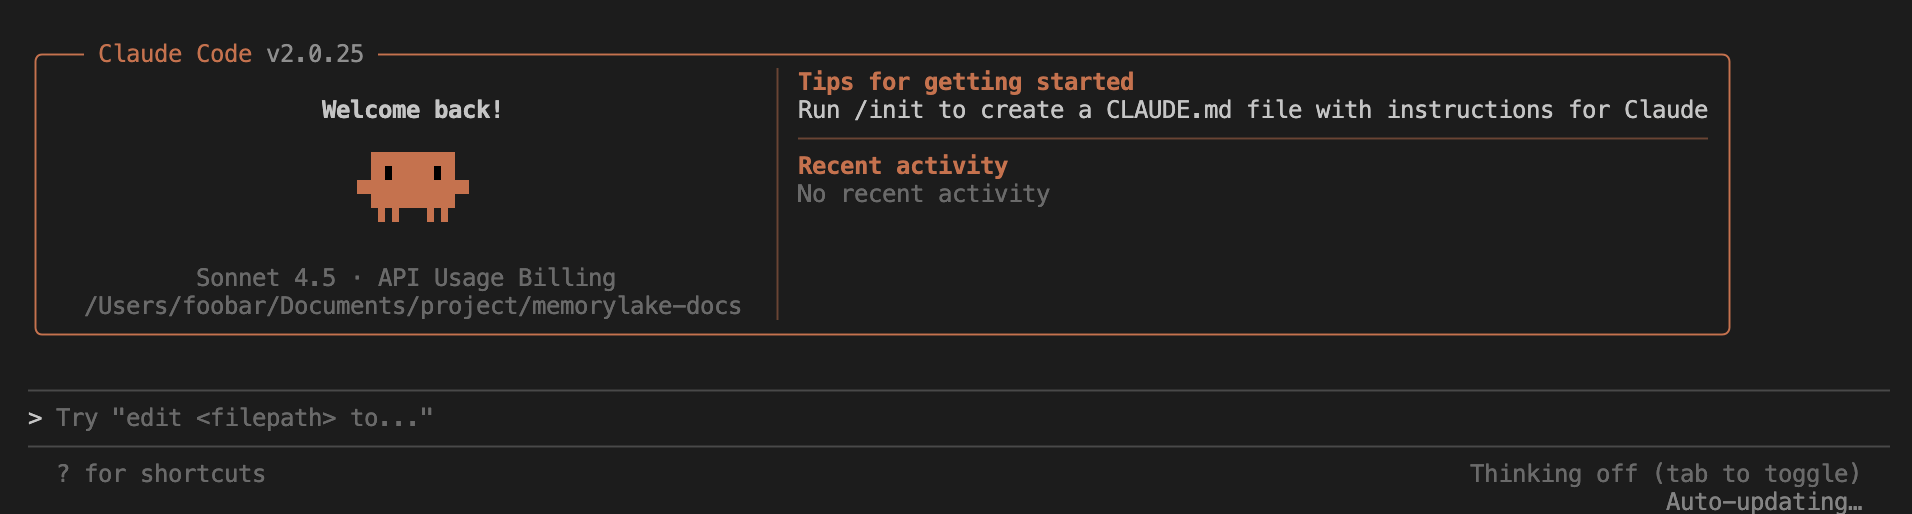
Persistent Configuration (Recommended)
To avoid repeatedly entering environment variables each time, you can write the configuration to shell configuration files: Bash Configuration:Codex CLI Integration
What You Need
- OPENAI_API_KEY: Your API key from Memorylake Console (starts with
sk-) - base_url: Model Router service address:
https://app.memorylake.ai/v1 - model: Model name to use (check available models)
Step 1: Install Node.js
Ensure Node.js environment is installed. Codex CLI requires Node.js support.Step 2: Install Codex CLI
Install Codex CLI globally via npm:Step 3: Get Your API Key
Click “Add API Key” on the API key management page in the Memorylake Console to get an API Key.The name can be set arbitrarily. It’s recommended to set the quota to unlimited. Keep other settings as default.
Step 4: Create Configuration Files
Create~/.codex/config.toml file and add the following configuration:
config.toml
~/.codex/auth.json file and add the following configuration:
auth.json
Step 5: Start Using
Run in the project directory: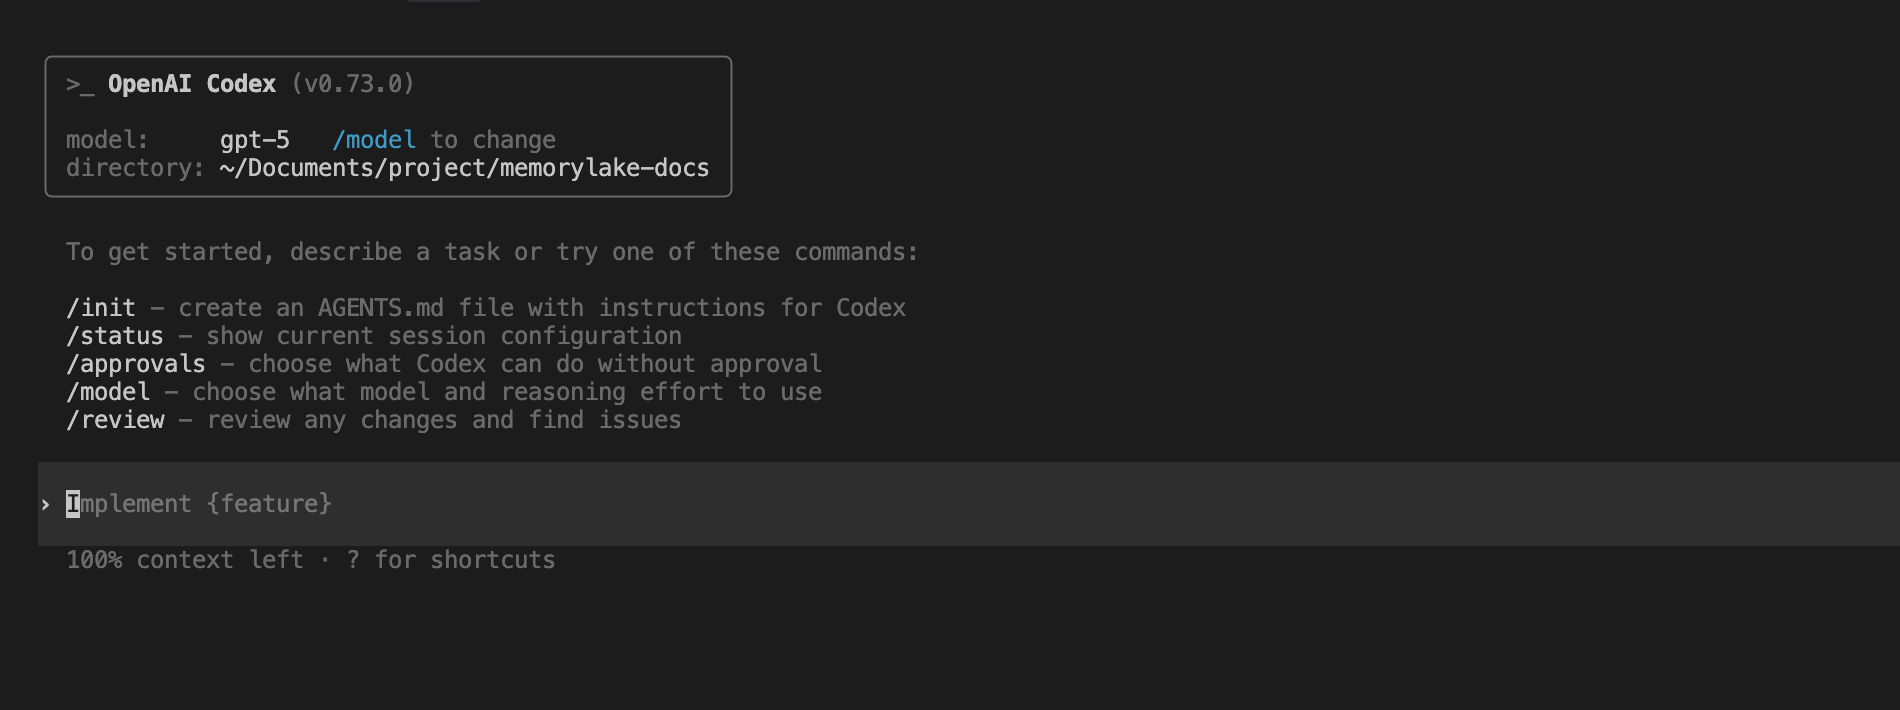
Configuration File Details
Codex CLI config.toml
- model: Specify the model name to use (must be available to your API key)
- model_provider: Model provider identifier (use
memorylaketo represent Model Router) - preferred_auth_method: Authentication method (use
apikey) - base_url: Model Router API address, must include
/v1path
Codex CLI auth.json
- OPENAI_API_KEY: API Key obtained from the Memorylake Console
Custom Configuration Path
To use a custom configuration path, set theCODEX_HOME environment variable:
Cherry Studio Integration
What You Need
- Provider Type: Select a type supported by Model Router
- API Key: Your API key from Memorylake Console (starts with
sk-) - API Address: Model Router service address
Step 1: Get Your API Key
Copy your API Key from the API key management page in the Memorylake Console.Step 2: Add Provider in Cherry Studio
- Open Cherry Studio
- Add a new Provider
- Select the corresponding Provider Type
- Enter your API Key and API Address
In the chat settings under system settings in the Memorylake Console, you can add a quick option to one-click fill Cherry Studio configuration on the API key management page.
Step 3: Add Models
After configuration, add available models to Cherry Studio. Make sure to check List Available Models to see which models you can use.Step 4: Start Using
Return to the chat page and select the configured Model Router model to start a conversation. You can switch between different Model Router models at any time.Common Issues
Cherry Studio
- Provider Not Working: Check that the API address and API Key are correct
- Models Not Available: Confirm that the models are enabled in your Model Router API key group. Check List Available Models
- Connection Failed: Verify your network connection and API endpoint URL
Claude Code
- Installation Failed: Ensure Node.js and npm are installed; using
npm install -grequires administrator privileges. - Connection Failed: Check if the API address and API Key are correct, and ensure network connection is normal.
- Environment Variables Not Effective: Confirm they are correctly written to the configuration file and restart the terminal or execute
source ~/.bashrc(orsource ~/.zshrc).
Codex CLI
- Installation Failed: Ensure Node.js and npm are installed; using
npm i -grequires administrator privileges. - Configuration File Not Found: Manually create
~/.codexdirectory and configuration files. - Connection Failed: Check if
base_urlandOPENAI_API_KEYare correct, and ensure network connection is normal. - Model Unavailable: Confirm that the model is enabled and configured in your Model Router API key group. Check List Available Models.
Important Notes
- Model Availability: Model availability depends on your Model Router API key group configuration. Always check List Available Models first.
- API Key Security: Never share your API key publicly or commit it to version control. Use environment variables or secure configuration files.
- Quota Management: Monitor your usage in the console. See View Usage and Billing for details.